Week 5
Milestones
- Setting up of keycloak and other related services
Milestone 1 : Setting up of keycloak
This week, my major task was to make the system ready for anchoring of schemas. In order to anchor schemas, we need to first be able to create schemas in the sunbird rc via backend APIs.For that we need to be an authenticated user and must setup the keycloak configurations precisely. Not only authenticated, but in the keycloak admin console, we also need to update roles and permissions.
We will be creating a new user in the keycloak console and giving it a admin level privileges.
Step 1 : Starting keycloak server
$ docker-compose up -d --no-deps keycloak
Step 2: Open your browser and go to the following link -
http://localhost:8080/auth/admin/master/console/
user-name : admin | password : admin
Step 3: Go to users and create a new user
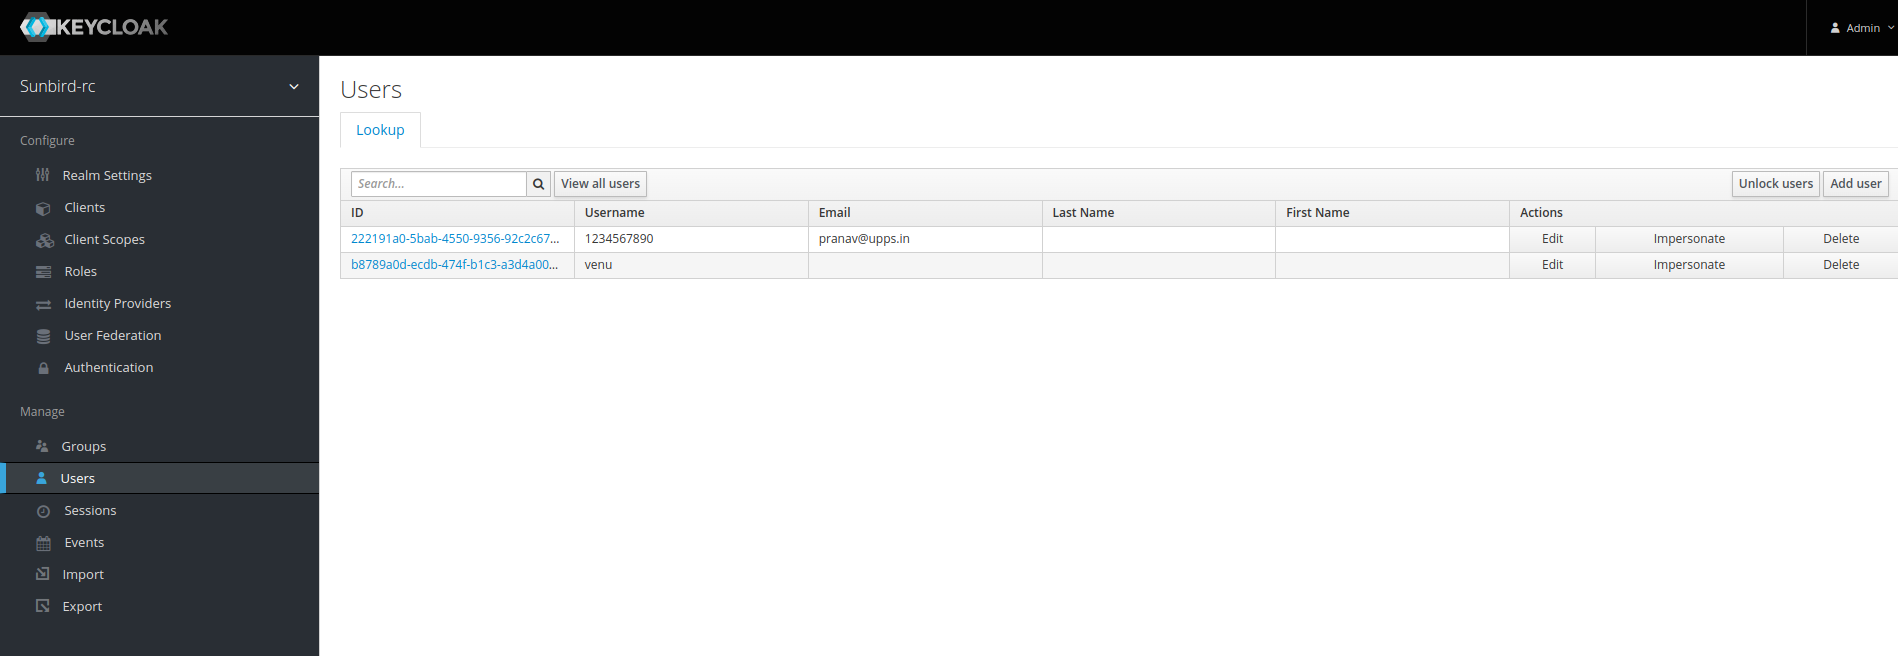
Here you can see, I have already craeted a new user venu. You can click on add user.
Once you have created a new user,you will be taken to this screen
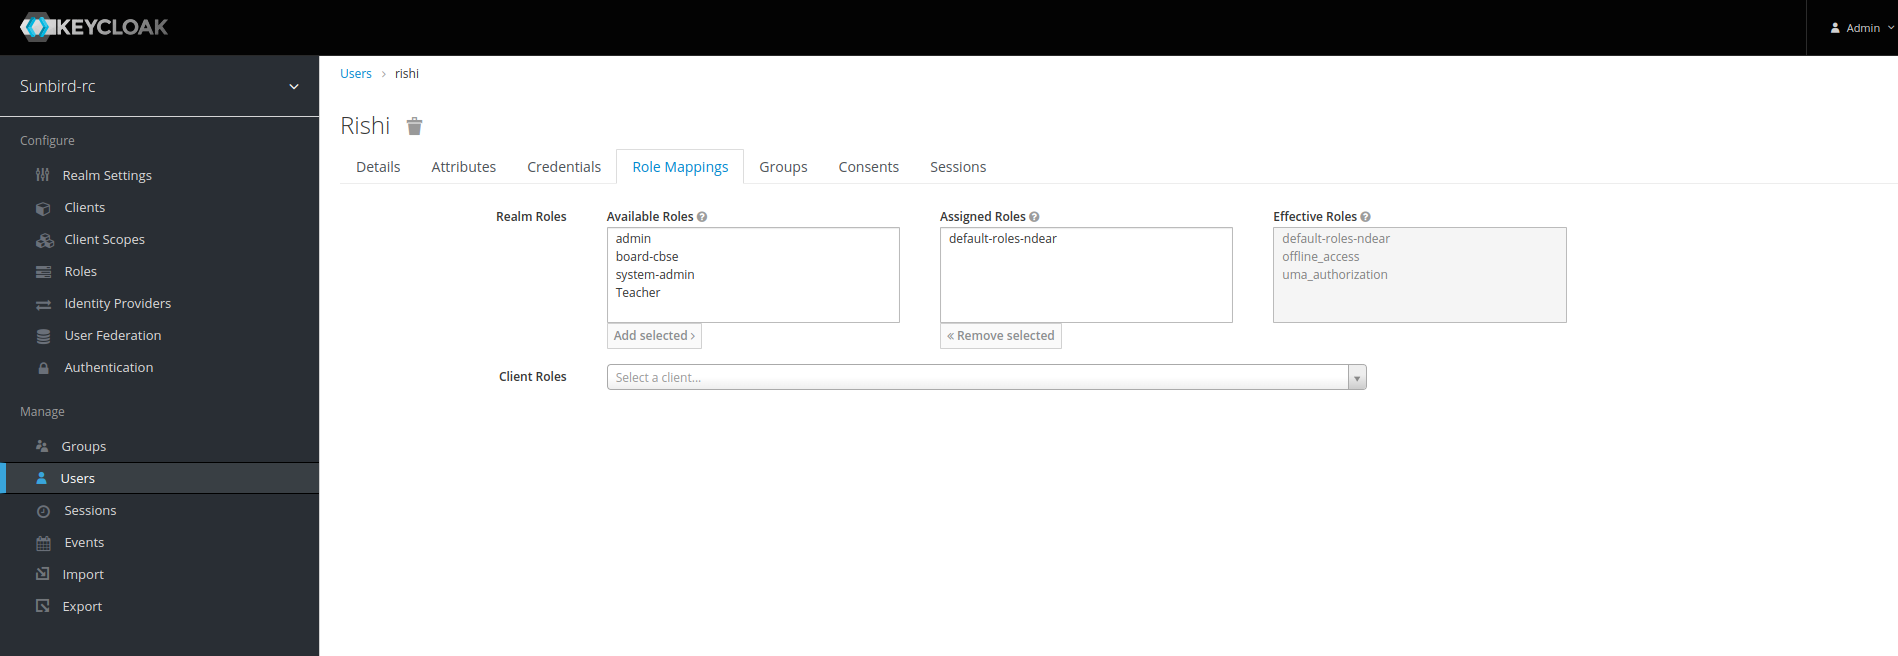
Now simply add click on any role in the available roles so that they can be assigned and click on add selected
A new user has been created with role admin.
In order to access the APIs, you will still be needing the access token for the particular user.
Generating keycloak access token:
    http://keycloak:8080/auth/realms/sunbird-rc/protocol/openid-connect/token

    Headers{
        "Content-Type":"application/form-encoded"
    }

    Body{
        "username":"",
        "password":"",
        "grant_type":"password",
        "client_id":"registry-frontend
    }
You can try this using either postman / thunderclient / or in terminal using curl/httpie.
You will recieve an access token, which we will be needing in authorization headers.
Learnings
- Keycloak based authentication
- Entities, Schemas, Actors in the Sunbird eco system